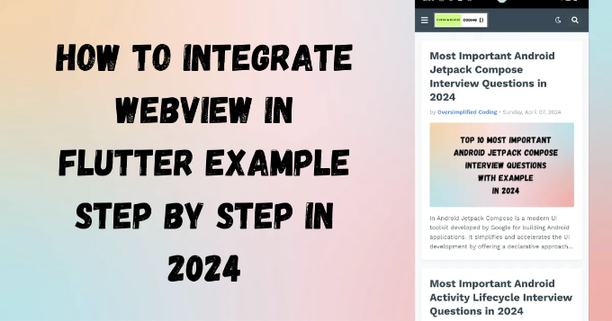
이 블로그에서는 2024년에 단계별로 플러터 웹뷰 예제를 통합하는 방법을 탐색할 것입니다. 이 코드를 안드로이드 스튜디오에서 쉽게 사용할 수 있습니다.

2024년 플러터 웹뷰 예제 단계별 통합 방법
단계 1: “pubspec.yaml” 파일에 웹뷰 종속성 추가하기
"스튜디오"로 이동 - "프로젝트" 폴더 열기 - "pubspec.yaml" 파일 열기 - "pubspec.yaml" 파일에 "webview_flutter: ^4.8.0" 추가
dependencies:
  flutter:
    sdk: flutter

  # The following adds the Cupertino Icons font to your application.
  # Use with the CupertinoIcons class for iOS style icons.
  cupertino_icons: ^1.0.2
  webview_flutter: ^4.8.0
단계 2: “AndroidManifest.xml” 파일에서 인터넷 연결 권한 추가
"스튜디오"로 이동 - "프로젝트" 폴더 열기 - "android" 폴더 열기 - "app" 폴더 열기 - "src" 폴더 열기 - "main" 폴더 열기 - "AndroidManifest.xml" 파일 열기 - 아래 인터넷 권한을 "AndroidManifest.xml" 파일에 추가
<uses-permission android:name="android.permission.INTERNET" />
단계 3 : Lib 폴더에 "WebViewContainer.dart" 파일을 생성하세요
"Studio"로 이동 - "프로젝트" 폴더 열기 - "lib" 폴더 열기 -` "WebViewContainer.dart" 파일 만들기
import 'package:flutter/material.dart';
import 'package:webview_flutter/webview_flutter.dart';

class WebViewContainer extends StatefulWidget {
  const WebViewContainer({Key key});

  @override
  State<WebViewContainer> createState() => _WebViewContainerState();
}

class _WebViewContainerState extends State<WebViewContainer> {
  final controller = WebViewController()
    ..setJavaScriptMode(JavaScriptMode.unrestricted)
    ..loadRequest(Uri.parse("https://www.oversimplifiedcoding.com"));

  @override
  Widget build(BuildContext context) {
    return SafeArea(child: WebView(
      controller: controller,
    ));
  }
}
단계 4: Lib 폴더에 "main.dart" 파일을 생성하세요
"스튜디오"에 가서 - "프로젝트" 폴더 열기 - "lib" 폴더 열기 -` "main.dart" 파일을 생성하세요
import 'package:flutter/material.dart';
import 'package:my_test_app/WebViewContainer.dart';

void main() {
  runApp(const MyApp());
}

class MyApp extends StatelessWidget {
  const MyApp({super.key});

  @override
  Widget build(BuildContext context) {
    return MaterialApp(
      title: 'Flutter Demo',
      debugShowCheckedModeBanner: false,
      theme: ThemeData(
        primarySwatch: Colors.blue,
        textTheme: TextTheme(
          headlineLarge: TextStyle(
              color: Colors.white, fontSize: 25, fontFamily: 'MainFont'),
          headlineMedium: TextStyle(color: Colors.black, fontSize: 20),
          titleMedium: TextStyle(color: Colors.red, fontSize: 16),
        ),
        useMaterial3: true,
      ),
      home: const WebViewContainer(),
    );
  }
}
참고
여기는 2024년에 하나씩 따라 할 수 있는 완전한 Flutter 웹뷰 예제 튜토리얼 비디오 참조 정보입니다. 손쉽게 배우고 코드에서 사용할 수 있습니다.
자세히 보기: Jetpack Compose에서 Mvvm Dagger Hilt를 사용한 로그인 API 호출
결론
이 블로그에서는 2024년에 하나씩 따라 할 수 있는 Flutter 웹뷰 예제를 만드는 방법을 안내했습니다. 이 코드를 쉽게 사용하고 필요에 맞게 수정할 수 있습니다.