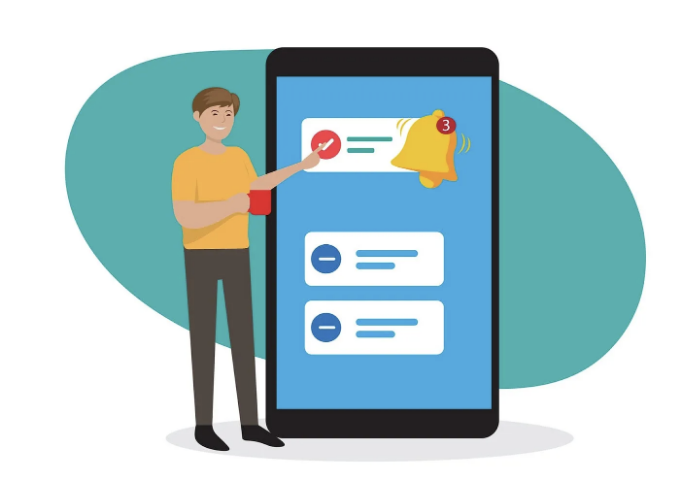
Flutter 로컬 알림은 애플리케이션에서 수행되는 이벤트 또는 작업에 대해 사용자를 참여시키고 알릴 때 사용됩니다. Flutter의 로컬 알림 패키지를 사용하면 Android 또는 iOS에서 모바일 애플리케이션 내부에서 알림을 표시할 수 있습니다.
Firebase와 같은 서드파티 서비스 없이도 이 작업을 수행할 수 있습니다. 로컬 알림은 주로 앱 내에서의 업데이트 및 사용자별 정보에 사용됩니다. flutter_local_notifications 패키지를 사용하면, 개발자는 사용자를 참여시키는 사용자 지정 제목, 내용, 우선 순위 수준 및 중요도 수준의 로컬 알림을 생성할 수 있습니다.
아래에 언급된 몇 가지 알림 생성 방법이 있습니다:
-
간단한 알림
-
일정에 따른 알림
-
일정 간격별
-
매일 특정 시간에
-
매주 특정 요일과 시간에
-
사용자 정의 사운드
-
알림 취소 및 제거
-
이는 응용 프로그램이 전경에서 실행 중인지, 배경에서 실행 중인지, 종료된 상태인지에 관계없이 알림이 탭될 때 사용자의 동작을 처리합니다.
이 기사에서는 간단한 알림 생성에 초점을 맞추겠습니다. 로컬 알림이 어떻게 작동하는지 보여주기 위해 작은 데모를 제공합니다. 버튼을 클릭하면 목록에 항목이 추가되고 화면에 표시되며 애플리케이션에서 어떤 일이 발생했음을 사용자에게 알리기 위해 팝업 알림도 표시됩니다.
먼저 Android와 iOS에 권한을 추가해야 합니다. 사용자가 원할 경우에만 알림을 받을 수 있도록 합니다.
Permissions for android
In the android/app/main folder, please add the following code to the AndroidManifest.xml file.
<application>
  <uses-permission android:name="android.permission.RECEIVE_BOOT_COMPLETED"/>
</application>
<receiver>
  <intent-filter>
    <action android:name="android.intent.action.BOOT_COMPLETED"/>
    <action android:name="android.intent.action.MY_PACKAGE_REPLACED"/>
    <action android:name="android.intent.action.QUICKBOOT_POWERON" />
    <action android:name="com.htc.intent.action.QUICKBOOT_POWERON"/>
  </intent-filter>
</receiver>
Permission for iOS
ios/Runner 폴더에 AppDelegate.swift 파일에 이 코드를 추가해주세요.
@UIApplicationMain
@objc class AppDelegate: FlutterAppDelegate {
  override func application(
    _ application: UIApplication,
    didFinishLaunchingWithOptions launchOptions: [UIApplication.LaunchOptionsKey: Any]?
  ) -> Bool {
    if #available(iOS 10.0, *) {
      UNUserNotificationCenter.current().delegate = self as? UNUserNotificationCenterDelegate
    }
    GeneratedPluginRegistrant.register(with: self)
    return super.application(application, didFinishLaunchingWithOptions: launchOptions)
  }
}
이제 main()에서 Android 및 iOS(darwin) 설정을 생성, 허용 권한 요청 및 초기화하는 방법을 작성해주세요.
class NoificationRepository {
static AndroidNotificationChannel channel = const AndroidNotificationChannel(
    'Channel_id',
    'Channel_title',
    description: 'This channel is used for important notifications.',
    importance: Importance.high,
    playSound: true,
  );
// 알림 채널 생성
static Future<void> notificationPlugin() async {
await flutterLocalNotificationsPlugin
.resolvePlatformSpecificImplementation<
AndroidFlutterLocalNotificationsPlugin>()
?.createNotificationChannel(channel);
// 알림 발송 권한 요청
await flutterLocalNotificationsPlugin
.resolvePlatformSpecificImplementation<
AndroidFlutterLocalNotificationsPlugin>()
?.requestNotificationsPermission();
// Android 초기화 설정
AndroidInitializationSettings initializationSettingsAndroid =
const AndroidInitializationSettings('@mipmap/ic_launcher');
// iOS 초기화 설정
DarwinInitializationSettings iosInitializationSettings =
DarwinInitializationSettings(
  onDidReceiveLocalNotification: (id, title, body, payload) async {
    return await showDialog(
      context: Messaging.openContext,
      builder: (BuildContext context) => CupertinoAlertDialog(
        title: Text(title ?? ""),
        content: Text(body ?? ""),
        actions: [
          CupertinoDialogAction(
            isDefaultAction: true,
            child: const Text('Ok'),
            onPressed: () async {
              Navigator.of(context, rootNavigator: true).pop();
              await Navigator.push(
                context,
                MaterialPageRoute(
                   builder: (context) => Screen(
                   text: '',
                  ),
                ),
              );
            },
          )
        ],
      ),
    );
  },
);
// Android 및 iOS 설정 초기화
InitializationSettings initializationSettings = InitializationSettings(
  android: initializationSettingsAndroid,
  iOS: iosInitializationSettings,
);
// Flutter 로컬 알림 초기화
flutterLocalNotificationsPlugin.initialize(
  initializationSettings,
  onDidReceiveNotificationResponse: (details) async {
    await Navigator.push(
      Messaging.openContext,
      MaterialPageRoute<void>(
        builder: (context) => Screen(text: details.toString())),
      );
    },
  );
}
}
알림을 표시하려면 flutterLocalNotificationsPlugin.show()를 호출하고 제목, 내용, 설명, NotificationDetails() 및 페이로드를 전달하십시오 (사용자가 알림 팝업을 탭할 때 받은 페이로드를 확인하여 응용 프로그램의 특정 화면으로 사용자를 안내할 수 있습니다. 사용자가 어떤 화면으로 이동해야 하는지 식별할 수 있는 간단한 문자열입니다).
void showNotification() {
  setState(() {
    _counter++;
  });
  flutterLocalNotificationsPlugin.show(
    0,
    "Testing $_counter",
    "How you doin ?",
    NotificationDetails(
      android: AndroidNotificationDetails(
        NoificationRepository.channel.id,
        NoificationRepository.channel.name,
        channelDescription: NoificationRepository.channel.description,
        importance: Importance.high,
        color: Colors.blue,
        playSound: true,
        icon: '@mipmap/ic_launcher'
      ),
      iOS: const DarwinNotificationDetails(
        presentSound: true, presentAlert: true, presentBadge: true
      )
    ),
    payload: 'Open from Local Notification'
  );
  setState(() {
    messages.add(
      Message(
        title: "Testing $_counter",
        body: "How you doin ?",
      ),
    );
  });
}

flutter_local_notifications 패키지는 Android 및 iOS 모두에 대한 Flutter 애플리케이션에서 로컬 알림을 구현하는 강력하고 유연한 방법을 제공합니다. 사용자 지정 사운드, 예약, 다양한 앱 상태에서 알림 처리 기능을 활용함으로써, 개발자는 사용자 참여도와 경험을 크게 향상시킬 수 있습니다. 제공된 코드는 간단한 방법으로 알림을 트리거하고 앱 인터페이스를 업데이트하는 방법을 보여줌으로써, 사용자가 응용 프로그램 내에서 관련 작업에 대해 신속하게 통지받을 수 있도록 보장합니다.
- https://pub.dev/packages/flutter_local_notifications
- https://github.com/MarvelApps-Flutter/local_push_notification_module
이 블로그가 플러터 로컬 알림을 이해하는 데 도움이 되었기를 바라며, 그렇다면 좋아요를 눌러주시고 댓글에서 의견을 공유해주세요.
이것이 흥미로운 정보라고 생각된다면 👏을 눌러주세요.